A problem that I see on a regular basis with a lot of athletes at Endeavor is a difficulty controlling lumbar extension and rib positioning, even during more remedial exercises.
The ability to control extension is important for a lot of reasons, but specific to the exercise below, it helps ensure that you’re truly training hip extension (by using your glutes and hamstrings) instead of substituting lumbar extension, using your spinal erectors.
As may be implied by having the longest name ever, the exercise below serves multiple purposes, namely to co-activate the glutes and hamstrings as hip extensors and to engage the core to minimize lumbar extension and maintain “neutral” rib alignment.
With the roller just in front of the knees, the weight of the leg is pushing the roller further away from the hips. As a result, the hamstrings need to engage to prevent the roller from actually moving away from the body.
A simple 2-arm reach would also help facilitate a “ribs down” position with some core engagement, but the band makes it more active and therefore creates a stronger core contraction. This is a strategy we’ll use with a lot of these basic hip/core activation exercises and exercises like Slideboard Hamstring Curls to help teach better alignment.
Although it’s more difficult, the band is actually assisting this positioning, so from a neural-patterning standpoint, it’s actually easier for the brain to choose the right movement strategy with the band. Ideally, the athlete would be able to find this position/control without the band. This is a concept they drill home at the Selective Functional Movement Assessment courses: Sometimes more resistance is a regression from a movement patterning perspective.
Check out the video below (ignore the interruption at 0:13) and let me know if you have any questions.
1-Leg Glute Bridge on Roller w/ Band-Resisted Reach
“Kevin Neeld is one of the top 5-6 strength and conditioning coaches in the ice hockey world.” – Mike Boyle, Head S&C Coach, US Women’s Olympic Team
“…if you want to be the best, Kevin is the one you have to train with” – Brijesh Patel, Head S&C Coach, Quinnipiac University
Training Around An Injury
Today’s Thursday Throwback is an article I originally wrote in 2011 that discusses the importance of training AROUND an injury and exactly how to go about it. If you have any questions, please feel free to post them in the comments section below!
Training Around an Injury
A few years back I wrote an article for T-Nation called Fight the Injury Blues: Keep Lifting. I think one of the biggest mistakes athletes make is that they completely shut down, physically and mentally, after suffering an injury that necessitates a limitation in their training/practice/competition. Some injuries may in fact require complete rest, but these are by far the minority and most of these only require complete rest for a week or two. The article outlines a few examples of what injured athletes can STILL do from a training standpoint, and the neurological benefits that are parlayed to the injured limb when the opposite limb is trained. The research in this area is interesting. If you haven’t read the article yet, take a minute to do so after you finish reading this post.
I recently got a question from a Canadian university player in the Atlantic University Sport league that read:
“Yesterday I read one of your old t-nation articles about training while injured and it touched a bit on unilateral training and the bilateral transfer involved (10% to 77% i believe it said). I was wondering if that kind of training would create imbalances in strength and muscle size. I’m going in for hand surgery soon and want to continue training my left arm/hand if its beneficial. What type of set/rep range would u hover at to reduce the risk of imbalance?”
This is a great question. As you can see, there is a pretty big discrepancy between the upper and lower limits of strength transfer from one side to the other. To take a step back, what the 10%-77% numbers are implying is that if you only train ONE side of your body (e.g. only 1-Arm DB Chest Press or 1-Leg Squat on the left side), 10-77% of the strength gained on that side will also be gained by the right side. In other words, the right side does nothing, but gets 10-77% stronger.
This “transferred” strength improvements results from the wiring of the nervous system. In an effort to oversimplify the complexities of the nervous system, the body adapts to things it does repeatedly. When the nervous system is forced to send signals for strong contractions to one side, it “learns” how to do so for the other side as well. The 10-77% range is a large one, but the strength transfer will be greater if you use compound exercises (multi-joint movements), slow down the eccentric phase of the lift, and maximize concentric acceleration.
To address the question at hand: Yes, training one side will cause imbalances in strength and size. While muscle imbalances (a somewhat vague term) are one of the major predictors of injury (second to previous injury), there are some important qualifiers in this situation.
1) Consider the Alternative
The alternative to training the “good” side only is to avoid training those segments of the body altogether. Physically, this will cause an equally undesired atrophy of the musculature AND neural drive to the musculature. In this scenario, the athlete needs to restore the lost muscle mass and neural efficiency bilaterally, which will not only set them back quite a bit in their training, but may also require focused dietary changes to sufficiently increase the caloric and protein intake to allow for training-drive hypertrophy.
Mentally, most athletes are extremely competitive and active, and don’t respond well to being told to completely shut it down for extended periods of time. Again, depending on the injury, rest may be an advisable solution, but in most cases, it will do more harm than good.
2) Injuries Inherently Cause Imbalances
There is no avoiding imbalances following an injury. Whether it’s thumb surgery or a shattered femur, the neuromuscular system is going to adapt to minimize stress to the impaired area. That is why rehabilitation is so important; the goal is to restore symmetry across the injured area and between the injured and uninjured side. Training the uninjured side will minimize strength losses bilaterally, so that there is less ground to make up upon getting cleared for training. This also highlights the importance of ramping up training/sports participation over a period of time instead of just jumping right back in. The body requires time and focused effort to restore symmetry. Just because an athlete is no longer injured does not mean he’s ready to return to play; they’re just at a different stage on the Injury-Optimal Performance continuum.
With regards to what set/rep ranges to utilize, the important thing to remember is that the transferred adaptations are neurally-driven strength improvements. Therefore, in order to maximize transfer, you’ll want to stay in neurally-driven strength improvement set and rep ranges (in general, 3-6 sets of 3-8 repetitions). If higher rep ranges are utilized then there will be more of a hypertrophic effect on the working musculature that will not be experienced by the injured side.
The other thing to consider, in this case, is that you can do anything that takes your hand out of the movement. Remember, it’s not an upper body injury, it’s just your hand. There are ways to train around that, such as doing:
Arm Strap Pulldowns
Slideboard Flys
And you can do these in whatever rep ranges you feel are most advantageous for your situation because they aren’t unilateral movements. You won’t have to worry about the degree of transfer from one side to the other.
Hope this helps. The big take home from this is that injuries shouldn’t cripple the athlete. Find ways to train around the injured area so the athlete can continue to make progress, or, at the very least, minimize performance losses associated with the healing and rehabilitation phases.
“Kevin Neeld is one of the top 5-6 strength and conditioning coaches in the ice hockey world.” – Mike Boyle, Head S&C Coach, US Women’s Olympic Team
“…if you want to be the best, Kevin is the one you have to train with” – Brijesh Patel, Head S&C Coach, Quinnipiac University
Hockey Hip Injuries: FAI
Today’s Thursday Throwback highlights a structural abnormality that affects the overwhelming majority of the hockey population specifically and much of the elite athletic population in general.
While the tone of this post (and the linked article) is specific to one structural abnormality, the foundational theme is not. The real message here is that every athlete is built differently, both from their genetic make-up and how they’ve adapted to stressors over the course of their lifetime.
As a result, it’s incredibly important that coaches appreciate these individual variations and don’t attempt to coach every athlete into a somewhat arbitrary movement “norm”. Often times athletes are patterning movement around the range of motion that they have and can control. If an athlete doesn’t have the motion to perform an athletic movement correctly, it’s wise to dig deeper to see if it’s a structural or functional limitation. If functional, use whatever tools you have to improve it. If structural, coach around it. Either way, the goal is to optimize movement.
Check out the post, and post any thoughts/comments you have in the section below!
Hockey Hip Injuries: Femoracetabular Impingement
Femeroacetabular impingement (FAI) is an anatomical abnormality that anyone that trains hockey players needs to be aware of. In the most simple sense, FAI affects hip flexion ROM, especially past 90 degrees. This will necessarily lead to restrictions in many common lifting and jumping movements and will affect a player’s skating stride.
Mike Reinold recently posted a terrific article from Trevor Winnegge that I think you should read.
I don’t think strength coaches need to go through a screen for every possible injury that a player may incur, but I do think it’s important to be able to recognize signs of injuries or anatomical abnormalities when the player is warming up and training off the ice.
This article did a great job of outlining information related to the diagnosis and treatment of these injuries, but I think the real insight comes from the discussion section. I don’t always spend time reading through the discussion in most articles, but this was well worth the time. When you read it, you’ll see comments from people like Mike Reinold, Eric Cressey, and Jeff Oliver (really bright guys).
Pay special attention to comments regarding how FAI will affect movement so that you can be on the watch for this. Here’s a glimpse at some of my additions:
Round 1
We see a good number of these cases as well since the majority of our athletes are hockey players. As Eric mentioned, most have terrible soft-tissue quality around the hip.
The Slipped Capital Femoral Epiphysis mechanism probably holds extra weight amongst hockey goalies, who grow up dropping to their knees in an almost uncontrolled free fall at ages when they surely don’t have the muscular development to control the motion.
Given the magnitude of these surgeries, we try to focus on conservative approaches. Using single-leg work gives the hips more degrees of freedom, but keeping the athlete above their hip flexion end-range also helps ensure that we’re not getting compensatory lumbar movement.
Round 2 (In response to Jeff Oliver’s comments) Great point about not being “knee benders”. Because of my history working with hockey players on the ice, it seems that most coaches want their players to skate with the “ideal” stride. I think FAI is one illustration of why some players may opt for a different pattern.
Lumbar compensation, in some plane, is almost inevitable when people reach their hip flexion ROM, especially in bilateral lower body exercises. The only difference between FAI athletes and “normal” athletes is that FAI athletes will hit that hip flexion end range sooner, in at least one hip. If it’s a unilateral problem, you’ll likely see one hip drop below the other during squatting. That’s why I like single-leg work so much for these athletes-it gives the spine options as to which plane to move (namely that lateral flexion becomes more available) and lessens the compression load. This way, if an athlete fails to stop at THEIR end range (which they need to be educated on), they’re in a less damaging environment.
The Slipped Capital Femoral Epiphysis involves some, typically blunt, force that causes a shift in the growth plate at the femoral head/neck junction, which negates the head/neck offset (at least this is the theory). I’ve heard this attributed to things that kids naturally do like jumping out of trees, falling while playing on the playground, or repetitively free falling to your knees while learning how to play goalie! Now, with no femoral head/neck offset, when the femoral head recentrates in the acetabulum, hip flexion will be limited and it’s likely that the repetitive attempts to push hip flexion past the newly found limits will cause some accumulated trauma locally, which (in my opinion) could lead to additional bone growth and therefore an additional exacerbation of the problem. I know that’s long-winded; I hope it all makes sense. Feel free to email me if you have other questions.
Again, I highly recommend you read the whole article. Knowledge is power, and given that FAI is leading to surgery in a lot of cases, the more you know about to the more you can prevent FAI leading to excessive labral damage and future osteoarthritis (as is often the case when FAI goes unchecked).
In addressing this question, it’s important to note that off-ice speed correlates to on-ice speed (this well-accepted notion even has research support, so it has to be true). Of course, you need to be able to skate well in order to transfer on-ice speed developments. For instance, Matt Siniscalchi (who coaches with me at Endeavor) is very fast on land.
Matt demonstrating a lateral sprint start variation at our old facility
Not so much on ice.
Mastering the skill of skating is important. So is wearing the right type of skate.
However, the postural control, acceleration and transition mechanics and coordinated reciprocal movement between the upper and opposite lower limbs will all definitely transfer to the ice.
The Lateral Speed videos from Complete Speed Training are especially relevant, as the Lateral Shuffle Acceleration teaches skills relevant to transitioning from backward to forward or lateral skating using a pivot, walking the puck across the blue line, tracking players while maintaining a relatively stable position on the ice (as a penalty killer would against a player walking the puck across the blue line), and lateral starts in general.
The Crossover Acceleration section will teach movement skills that transfer more to quick stops/changes of direction that emphasize a “push under” on the ice.
Finally, the Retreating Skills sections provides a great look at a lot of the other transitional movements, such as back pedaling and then opening up and sprinting in the same direction (as a defenseman may do if a breakout is coming at them faster than they can accommodate skating backwards alone).
All of these movement qualities can be significantly improved off the ice, which will make transitioning them on the ice that much easier. From a coaching perspective, one of my favorite features of the program is listening to Lee’s coaching cues. It’s not only important to hear what he’s saying to make quick changes in the mechanics of his athletes, it’s important to note what he’s not saying. The cues are short, simple, and effective. He’s not overwhelming the athletes with information (as I’m prone to), but he uses the least amount of explanation to deliver the great impact on performance. There’s a lesson in that for all of us!
To supplement the great off-ice speed training information in Lee’s Complete Speed Training, today’s Thursday Throwback from 2012 highlights three on-ice power skating tips that will help your off-ice training transfer to on-ice speed improvements. Enjoy the post, and as a friendly reminder, Complete Speed Training is on sale for $100 off until tomorrow, so grab a copy while you can still save some loot!
3 Keys to Developing Optimal Skating Technique
Over the last several years I’ve had many conversations with hockey players, parents, and coaches about skating technique. Given the importance of becoming a great skater on a player’s career, this is a skill that deserves a lot of attention. I often hear coaches say things, accurately, like:
“You need to get down lower”
“Longer more powerful strides!”
“You need to be more explosive”
This feedback can go a long way for a lot of players, as some have simply never (or rarely) been given feedback on things they can do to improve their skating. In other cases, however, the solution to the player’s skating qualms delves deeper than simply providing a few movement cues for them to consider. This is an extremely important topic that I’ll cover in a future post, but before I cover physical limitations to optimal skating technique, I want to start by sharing some of the more basic flaws, either in practice emphasis or in execution, that players can start to work on immediately.
1) Deep Knee Bend Simply, for every player there is an optimal depth that will allow them to maximize their stride length.The pictures below are taken directly from my book Ultimate Hockey Training, and illustrate the effect that a lower skating position can have on stride length.
Tall Skating Stance
Deeper Skating Stance
In both pictures, the stride leg is in full extension. You can see very clearly that the stride leg travels about twice as far with the deeper skating stance than with the tall skating stance. Longer stride translates into more contact time with the ice which translates to more opportunity to generate power and forward propulsion.
I frequently use this illustration off the ice when teaching younger players proper body position for squats, jump landings and other lower body movements. I’ve found that most youth players, despite their limited attention span, understand how a deeper stance can translate into faster skating, so explaining how them performing certain movements the way I want translates into faster skating helps with buy-in tremendously.
A deeper skating stance also lower the center of gravity, which makes it more difficult to be knocked off of pucks, and more likely for players to win battles in corners.
Deeper isn’t always better, but it is extremely rare for a player to skate too deep. The problem is almost always in the other direction; he/she stands up too tall. This is an important point to hammer home to youth hockey players who are developing their skating habits, but this skating flaw certainly isn’t limited to the youth population. Emphasizing a deeper skating stance (not just a deeper knee bend) is an easy tip that can help a lot of players get a little bit more out of each stride.
2) Finish Each Stride with a Toe Flick Another major area where players lose a lot of skating power potential is with the toe flick. Whether it’s a forward stride, forward crossover, or backward crossover, each stride should finish with a powerful toe flick such that the skate progressively leaves the ice from heel to toe.
Skating Stride with No Toe Flick
Skating Stride with Toe Flick
This may seem like a relatively insignificant change, but it’s not. Everyone is capable of tremendous power potential through their calves. As an illustration of this, stand on one leg and jump up and down without bending your knees, only using movement through your ankle. When players realize that there is a relatively small amount of muscle mass accelerating their entire body off the ground, they quickly realize how much potential power they can add to each stride. Another way to illustrate this is to have someone do a max effort vertical jump off of their heels, and then again finishing off the balls of their feet (as anyone would do normally). The difference is substantial.
During crossover strides, this same principle applies, but there is a bigger picture. Often times players won’t “drive under” while crossing over, they only “step over”. This “drive under” cue can go a long way in helping players accelerate through turns and get a little more push from each stride. We use this cue constantly during our transitional speed training exercises at Endeavor.
3) Master Your Edges This isn’t so much a skating flaw as it is an oversight in what most players practice. Forward and backward linear skating are important, as is learning to crossover, but a fundamental prerequisite to mastering all skating movements is to become comfortable on your edges. So much of the game of hockey involves transitional and curvilinear movement. The best skaters in the world demonstrate incredible balance, agility, and resilience to unexpected obstacles or contact, largely becomes of the body positions and edge control they’ve internalized.
When you get some open ice, perform inside and outside edge holds, forward and backward, on one leg while maintaining optimal body positions. Push the depth of your skating stance and the angle at which you lean into the ice. Practice pivoting from forward to backward and backward to forward on one leg, maintaining proper body positions and ensuring that you don’t stand up tall during the transition.
I really like this video which was posted recently by Darryl Nelson and Carrie Keil, the Strength and Conditioning Coach and Power Skating Coach, respectively, of the USA National Team Development Program, because it demonstrates a great on-ice exercise to improve inside edge comfort in a transitional pattern.
There are a ton of applications of this idea, but I’ve found that these very basic concepts can go a long way in improving a player’s edge comfort, which translates into more confident and purposeful skating on the ice.
Wrap-Up
These are three of the biggest areas that most players can focus on to have a huge impact on their skating technique and power. Regardless of what level you’re playing at, check yourself against these recommendations and see how you do. Almost every player has some room for improvement. If any of the above feels unnatural to you, you may have a structural or functional limitation, which I’ll discuss in more detail in a few days. Check back soon!
Please enter your first name and email below to sign up for my FREE Athletic Development and Hockey Training Newsletter!
Get Ultimate Hockey Training Now!
“…an extremely rare comprehensive look at the present state of ice hockey training.”
“…a must-have for coaches and strength professionals at all levels of hockey.”
Top 10 Post of 2014
2014 was a memorable year for a lot of reasons. Emily and I got engaged, bought a house, I got a new (used) car, and then we expanded our family to include a new dog, Ruxin. In quick succession, we learned that he…
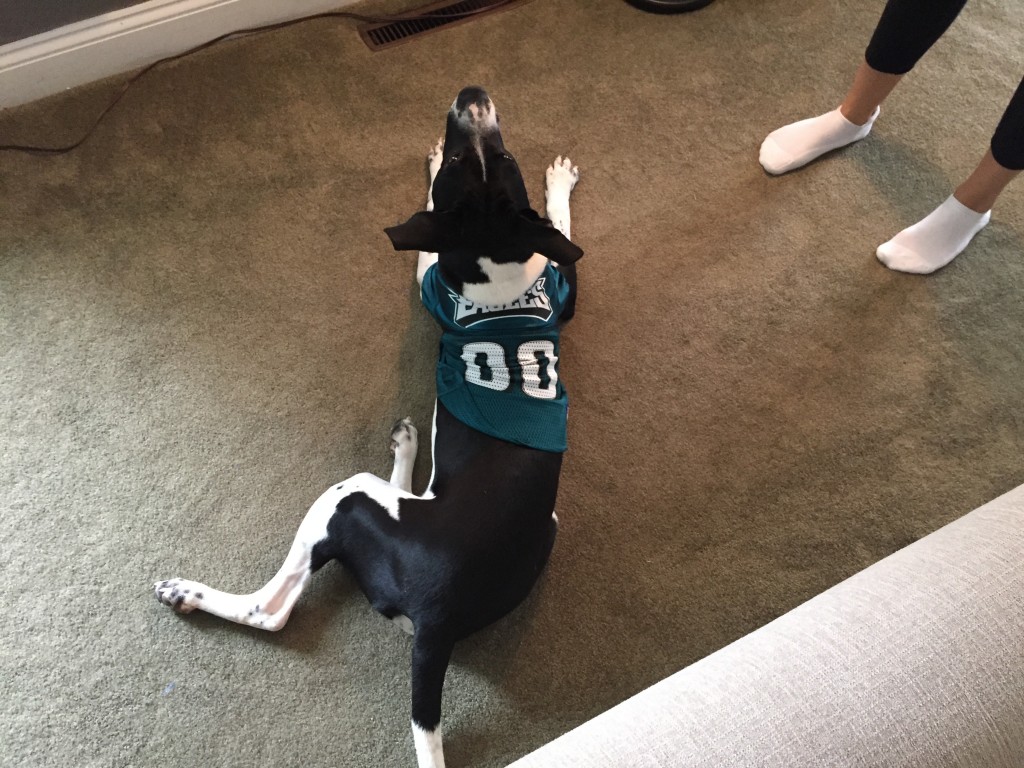
despite being from Jacksonville, is an Eagles Fan
like me, prefers watching games in the Man Cave
is a little protective over his things
is…not shy
likes sitting by the camp fire
is festive
and no stranger to the weight room
may or may not be familiar with the Heisman
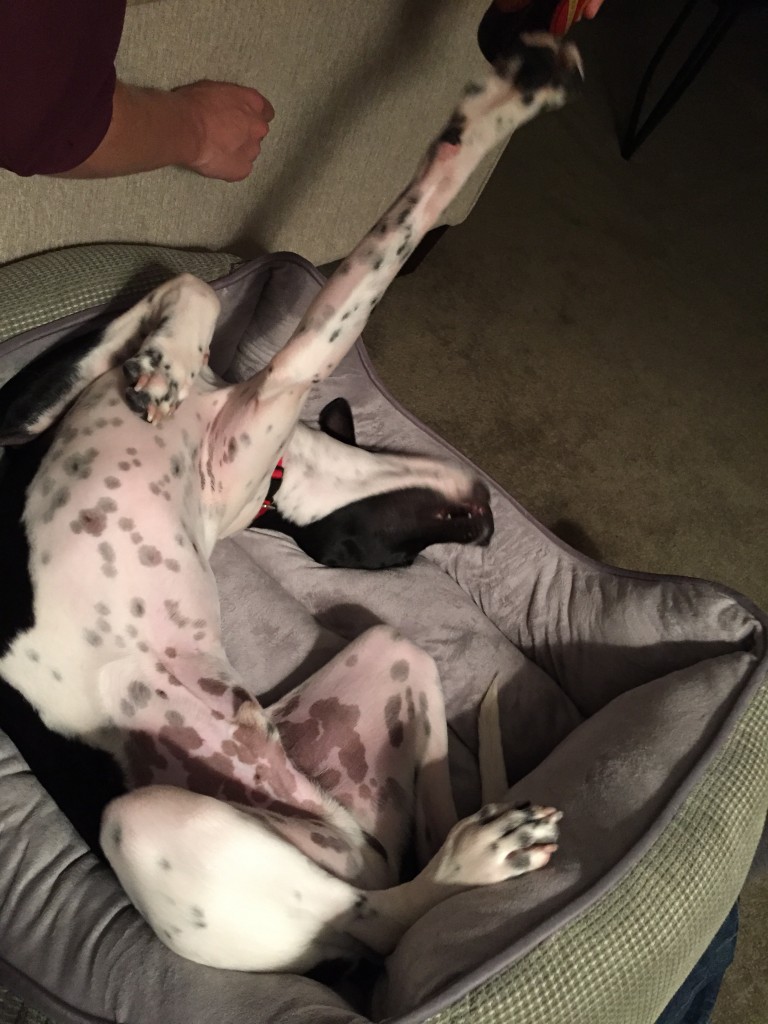
has the same response I do when Emily puts on the Bachelor
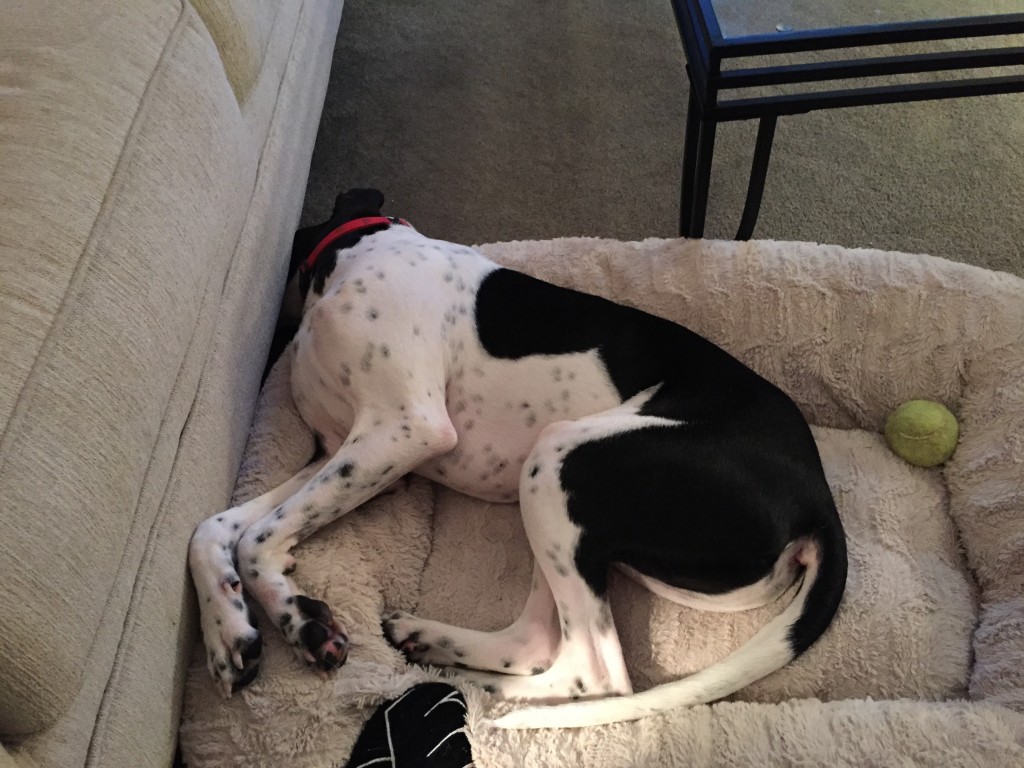
adopted Emily’s favorite sleeping position
Emily and I also attended 6 weddings of very close friends of ours, which added a lot of excitement to the year to say the least!
On a professional note, this has been an awesome year for us at Endeavor. Not only was this our largest off-season hockey group ever, but 2014 saw Johnny Gaudreau win the Hobey Baker (and then get off to an incredible start to his NHL career), Anthony DeAngelo get drafted in the first round of the NHL draft (and then compete in his first World Juniors, while leading all OHL defensemen in points), Dwyer Tschantz become the first Delaware-native to ever get drafted in the NHL, and a number of other individual accomplishments that I, along with the rest of our staff, am incredibly proud of.
And while the focus of this site tends to drift toward hockey-specific topics, we have also had a great group of soccer, softball, and baseball players train with us, which includes some of the most dedicated athletes we’ve ever trained.
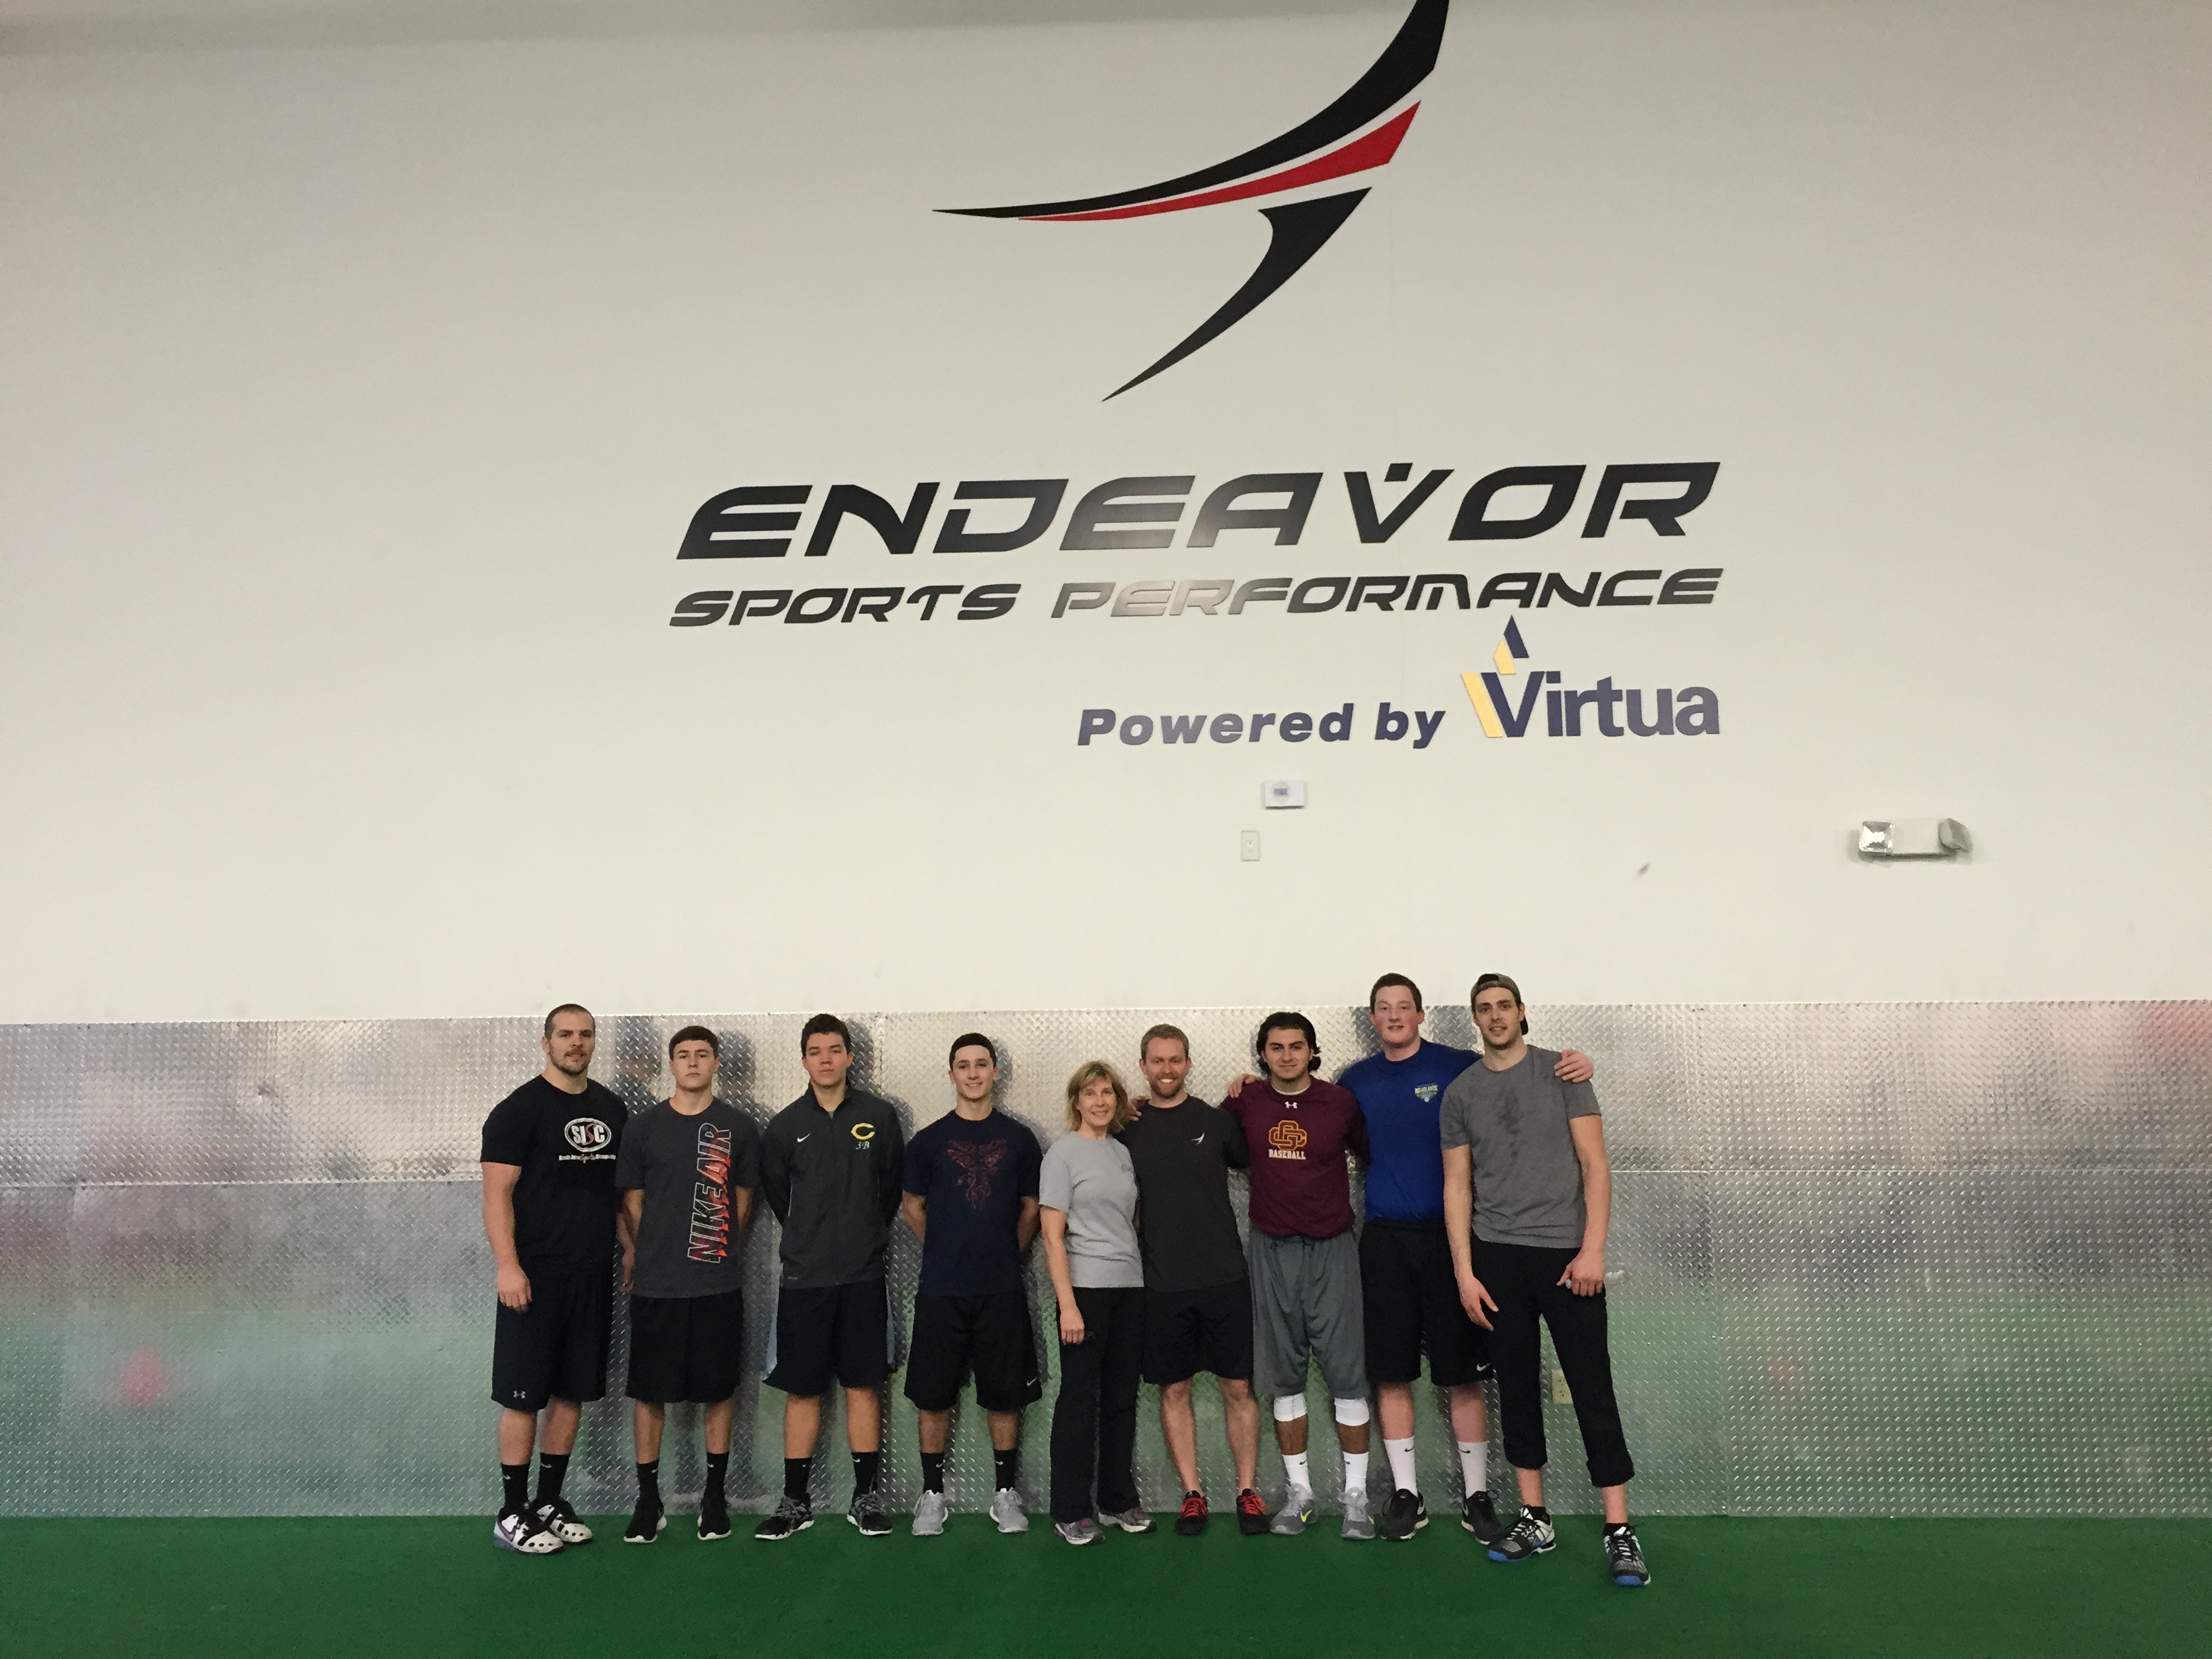
Christmas Eve training group
A quick aside about the group above. The two HS pitchers to my left are both committed to good D1 schools. One is training 6 days/week with us; the other 5. They came up to me about a week before Christmas and asked about our holiday hours, so I ran them through what the schedule looked like, notably that we’d be closed Christmas Eve and Christmas. Upon hearing this, the one player said, “So you’re closed Christmas eve?”. But he didn’t say it in a way that lead me to believe he was just clarifying. It was said more like “I heard you say you were closed Christmas eve, but I think what you meant to say was that you’ll open so we can come train that morning…right?” A sentiment that was reaffirmed by the fact that they both just stood there with their arms crossed staring at me, intently.
Emily had to work that day anyway and I have a hard time not supporting that level of dedication so I opened up. Upon hearing the news, several others hopped in as well. As a coach, it’s exciting to see extremely talented players are still pushing their development.
With all of that said, I wanted to recap the year by sharing the Top 10 posts of 2014. Enjoy, and if you find one you particularly like, please feel free to pass it along to your friends.